
Reviewed · GAMLA STAN OLD TOWN WALKS
Magical “Stockholm by Night” Photo Walk
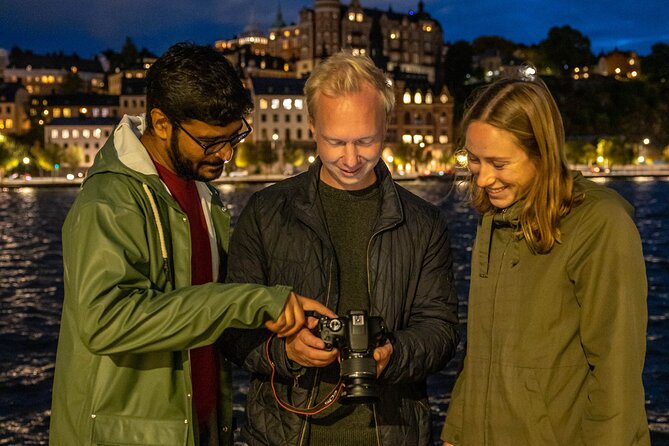
Night photos get easier fast. I love how this walk turns Stockholm after sunset into a real teaching classroom, with practical guidance for both cameras and phones. You’ll learn how to work the moment when the sun has just gone and city lights take over, plus how to use long exposure for dramatic light trails.
Two things I especially like: the route is guided by a professional photographer who can tailor what you focus on, and the night stops are picked for usable shots instead of just sightseeing. One catch to plan for is that low-light photography rewards patience and stability, so you’ll get the best results if you bring a tripod (it’s optional, but strongly recommended).
In This Review
- Key highlights worth your attention
- Why Stockholm looks different after sunset
- Price and value for a 2-hour night photography session
- How Julien helps you master low light without guesswork
- Long exposure, explained in real scenes
- Composition tips while you walk
- Tripod: optional, but it’s the difference-maker
- Old Town at night: where you start building your shots
- What you should watch for here
- Riddarholmen: calm angles and reflective potential
- Likely drawback
- Mariaberget and the night viewpoints above Stockholm
- How to get better quickly at this stop
- Stockholm City Hall: the final payoff for night architecture
- Gear that makes the biggest difference (camera or phone)
- Tripod and flashlights
- If you’re using an iPhone
- If you’re using a camera
- The fika break: why this stop is more than a snack
- Weather and timing: the real-world limits you should respect
- Who this photo walk is best for
- Should you book this Stockholm by Night photo walk?
- FAQ
- What is the duration of the Stockholm by Night photo walk?
- How much does the tour cost?
- What is included in the price?
- Do I need a tripod?
- Can I join with a mobile phone instead of a camera?
- Where does the tour start and end?
- What happens if the weather is poor?
Key highlights worth your attention
- Long exposure practice for car and train light trails, timed for when city lights look their best
- Tailor-made route based on your experience level and interests, not a one-size path
- Julien’s hands-on teaching as you move from Old Town to key nighttime viewpoints
- Flashlights + fika keep the walk functional (and pleasant) after dark
- Works for phones too, with iPhone-style guidance mentioned in past sessions
- EBook after the tour so you can keep improving once you’re home
Why Stockholm looks different after sunset
Stockholm changes fast after dark. The details you’d normally notice in daylight soften, while reflections, storefront lights, and street lamps start doing the heavy lifting. This photo walk leans into that shift: it starts just after sunset, when there’s enough residual light to frame things and then the darkness arrives in a steady way.
That timing matters. If you show up too late, you miss the transition where highlights still sit nicely in the scene. If you arrive too early, you don’t get the full glow of the lit streets and buildings that make the photos feel like Stockholm at night instead of just a dark street.
What I like is that the teaching stays practical. You’re not just told to point and shoot. You’re shown how to use the conditions you’re actually standing in.
More laps of Gamla Stan and the old town lanes
Price and value for a 2-hour night photography session
The price is $159.07 per person for about 2 hours. That’s not cheap, but it’s also not a massive time investment, so you want the instruction to be focused—which is the point here.
You’re paying for a few clear value pieces:
- Guidance by a professional photographer & guide
- A route that’s adapted to your experience level and interests
- Included supplies: flashlights
- A traditional Swedish fika snack break
- An eBook about city photography sent after the tour
For night photography, the biggest “cost” is wasted time—taking lots of random shots without understanding why they’re not working. A good night guide shortens that learning curve fast. Even if you’ve shot at night before, having someone help you improve composition and low-light results in real time is where the money goes.
How Julien helps you master low light without guesswork
The core goal is mastering low light conditions so your night photos don’t come out blurry, muddy, or overly dark. The guide’s approach is built around a few ideas you can use anywhere.
Long exposure, explained in real scenes
One technique you’ll practice is long exposure. This is what lets you capture motion in a way your eye can’t: you’ll be able to photograph the movement of lights created by cars and trains, producing those smooth, glowing streaks.
Even if you’re new, this is a great lesson because it’s visual. You’ll see the difference between quick shots and longer exposures, and you’ll understand why the results look the way they do.
Composition tips while you walk
Night city photography can trick you: the scene looks interesting, but your photo ends up flat. Part of the walk is learning how to frame what matters—where to place bright highlights, how to manage lines, and how to create a sense of depth using the contrast between dark areas and illuminated surfaces.
From past experiences with this style of guide, you can also expect patience and problem-solving if your first attempts don’t work. That matters because low light can be frustrating.
More photo walks through the city


Tripod: optional, but it’s the difference-maker
The recommendation is straightforward: bring a tripod if you can. Long exposures benefit from stability, and using one reduces blur. You can still join with just a camera or even a mobile phone, but a tripod makes the learning outcomes much stronger.
Old Town at night: where you start building your shots
Your walk begins back at Stockholm City Museum on Ryssgården, then you head into Stockholm Old Town for the first nighttime views. Old Town is a smart starting point because it gives you a mix of things photo people love: historic architecture, tight street geometry, and lots of nearby light sources.
This is where you can start practicing the basics:
- How to handle bright lights in the frame without blowing everything out
- How to compose around streets and building edges so lines lead somewhere
- How to switch from daytime thinking to night thinking, where light and darkness are equal partners
What you should watch for here
Look for contrast. Nights in Old Town can be gorgeous, but they can also be visually busy. If your photo looks cluttered, the fix usually comes down to framing—simplifying your composition so the brightest elements become intentional focal points.
Riddarholmen: calm angles and reflective potential
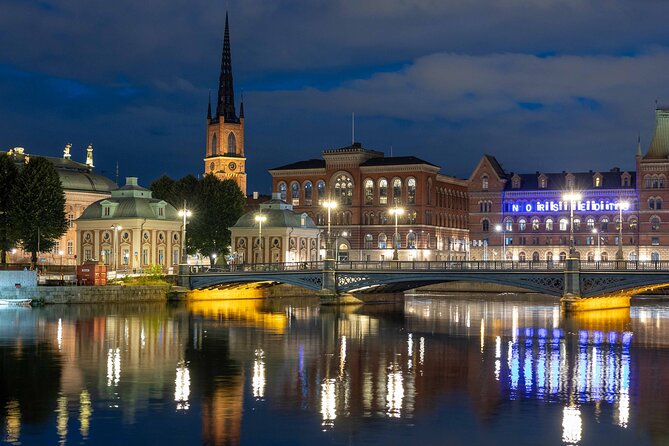
Next up is Riddarholmen, which is a classic nighttime photography area because you tend to get water-adjacent scenes and softer, reflective surfaces. That’s useful for learning because reflections can make your photos look more layered and cinematic without needing complicated gear.
This stop is also good for practicing how to balance dark foregrounds with bright backgrounds. In other words: you learn how to keep the scene from turning into an all-dark image with only one bright blob.
Likely drawback
If it’s windy or very wet, you may feel a bit more pressure to stabilize your camera. Again, this is where a tripod helps. If you’re using a phone, you’ll still be fine, but you’ll want a steady grip and time to experiment.
Mariaberget and the night viewpoints above Stockholm
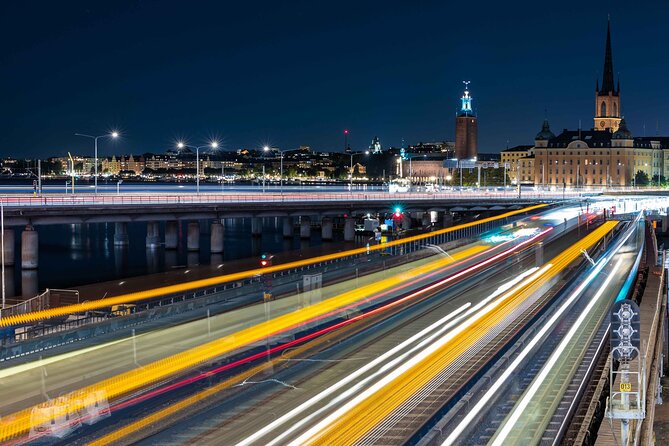
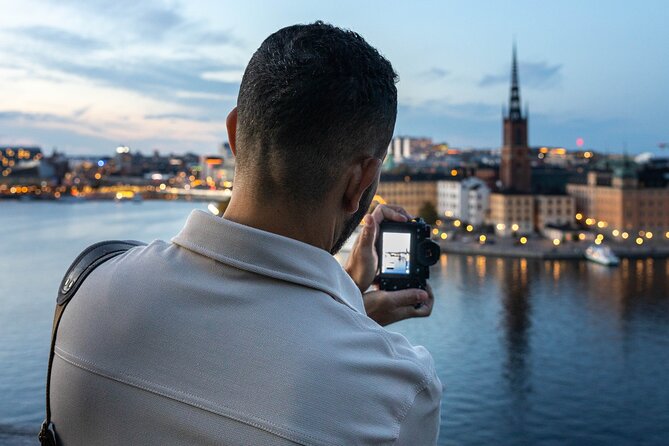
Then you reach Mariaberget, an area known for viewpoint energy. It pairs well with night photography because you can see how light patterns spread across the city—especially in the direction of major streets and illuminated waterfronts.
This part of the walk is where the long exposure lessons start paying off more dramatically. If you time your shots with moving traffic, you can get those light trails that make night photos feel alive.
How to get better quickly at this stop
Here’s a practical approach:
- First, take one or two test shots to understand how bright the scene is.
- Then switch to your long exposure approach and expect the scene to look different after a few attempts.
- If you’re using a tripod, lock it down and let the scene settle.
The goal is to stop fighting the camera and start directing it.
Stockholm City Hall: the final payoff for night architecture
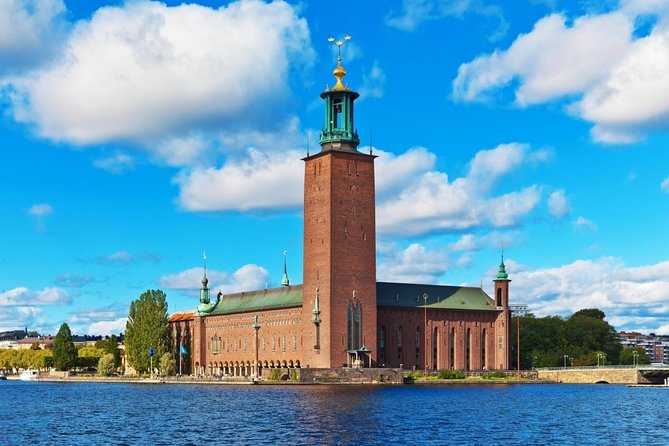
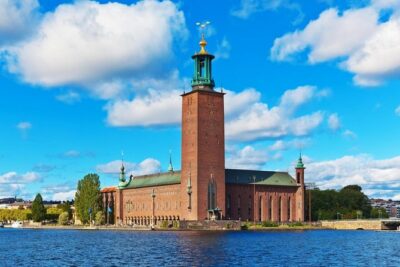
The walk ends at Stockholm City Hall, a strong finale for night images. City Hall is built for landmark photos, and at night the lighting design typically gives you clean highlights and distinct shapes.
This stop is the place to apply everything you practiced:
- Use contrast to make buildings readable
- Find lines that guide the eye
- Keep bright points controlled so your photo looks intentional, not accidental
It’s also a nice close because you can compare your early results with what you can do now that you’ve trained your eye to see light patterns.
Gear that makes the biggest difference (camera or phone)
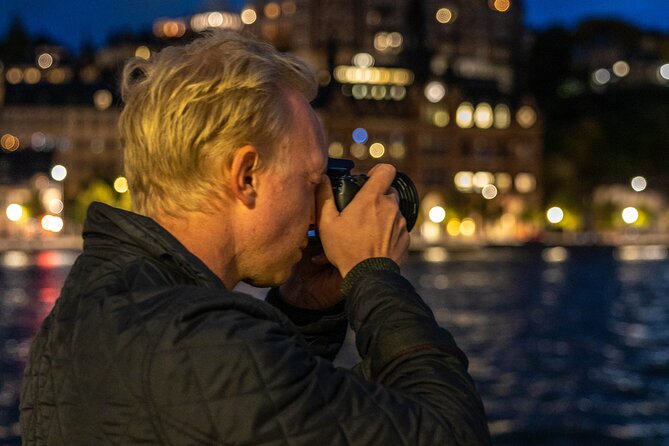
You can join with a camera or even a mobile phone, and that flexibility is part of the value. The big limiter in night photography isn’t skill—it’s stability and exposure control.
Tripod and flashlights
Even with good technique, dark scenes demand steadiness. That’s why the tour recommends bringing a tripod. You’ll also be given flashlights, which sounds minor, but it helps you move safely and keeps your attention on shooting instead of dealing with the dark around you.
If you’re using an iPhone
The instruction you get will likely include how to use phone features to handle low light and composition. Don’t expect it to work the same way as a full camera, but you can still get results you’ll be proud of with the right approach.
If you’re using a camera
You’ll benefit most if you’re comfortable adjusting settings, but the walk is designed so you don’t have to already be an expert. Focus on the big concept: longer exposure times mean more light captured and more motion recorded.
The fika break: why this stop is more than a snack
A traditional Swedish fika is included as part of the tour. It’s not just a treat; it’s a smart reset during a 2-hour night session.
Night walks can be tiring because you’re concentrating and standing still at times. The fika gives you:
- A chance to warm up (weather-dependent)
- A break from the handheld grind
- A low-stress moment to review what you’re seeing and talk questions through
And yes, a cinnamon bun and coffee with the right pace can make the whole experience feel like a friendly local outing, not a rushed photo assignment.
Weather and timing: the real-world limits you should respect
This experience requires good weather. Night photography is already technical; add rain, heavy wind, or poor visibility and the lesson gets harder to execute in a way that produces the expected photos.
The good news is that if it’s canceled due to weather, you’ll be offered a different date or a full refund. If you’re planning a trip, still keep your schedule flexible around sunset, because delays and early dark can affect how much you can shoot.
Who this photo walk is best for
This works for most people, including beginners. It’s especially a good match if:
- You want to learn night photography without spending hours experimenting alone
- You’re interested in light trails and long exposure results
- You travel with a phone and want help using it for city nights
- You like structured walking routes with a clear shooting focus
It’s also a nice option if you’re already into photography, because the guide can adjust the route and tips to your level instead of repeating the same basic advice.
Should you book this Stockholm by Night photo walk?
I’d book it if you want night photos that look like you planned them, not like you got lucky. The best reason is the teaching focus: low-light technique and long exposure are hard to learn on your own, and getting guided through real nighttime locations saves time and frustration.
Skip it only if you’re firmly unwilling to bring a tripod and you expect perfect results with no patience. Low light rewards preparation. If you’re okay with a little learning curve, you’ll leave with a clearer eye, better settings habits, and images that actually capture Stockholm at night.
FAQ
What is the duration of the Stockholm by Night photo walk?
The tour lasts about 2 hours.
How much does the tour cost?
It costs $159.07 per person.
What is included in the price?
Guidance by a professional photographer & guide, flashlights, an eBook about city photography after the tour, snacks for Swedish fika, and a tailor-made route adapted to your experience level and interests.
Do I need a tripod?
A tripod is optional, but it’s recommended due to the challenging low-light conditions.
Can I join with a mobile phone instead of a camera?
Yes. The tour welcomes cameras or even a mobile phone.
Where does the tour start and end?
It starts at Stockholm City Museum, Ryssgården, 116 46 Stockholm, Sweden, and ends back at the meeting point.
What happens if the weather is poor?
This experience requires good weather. If it’s canceled due to poor weather, you’ll be offered a different date or a full refund.
More Tour Reviews in Stockholm



More Stockholm Photo Walks
More Gamla Stan Walks

Just Added: The Latest Stockholm Reviews






Gamla Stan Old Town Walks, compared.
 ★ 4.7Ghost Walk and Historical TourFrom $312,206 reviews
 ★ 5.0Walking Tour of Stockholm Old TownFrom $241,175 reviews
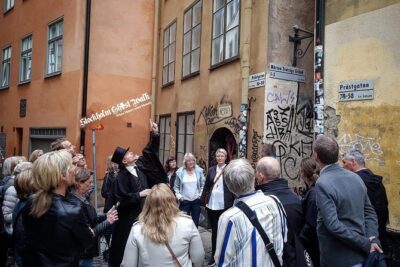 ★ 4.5The Original Stockholm Ghost Walk and Historical Tour – Gamla StanFrom $381,165 reviews
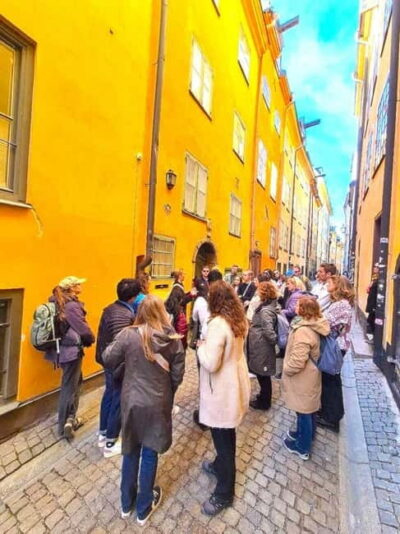 ★ 4.7Old Town Walking Tour with Local GuideFrom $15719 reviews
 ★ 5.0Best of Stockholm Walking Tour-3 Hours, Small Group max 10 peopleFrom $49645 reviews
 ★ 4.5The Nordic Food Walk StockholmFrom $122642 reviews
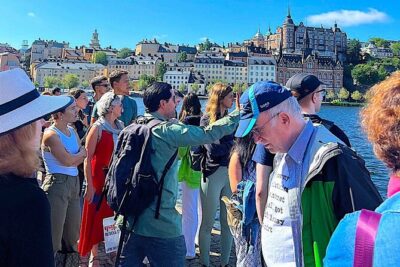 ★ 5.0Walking Tour of Stockholm’s Old Town, Gamla StanFrom $13451 reviews
 ★ 4.9Old Town Historical Walking TourFrom $52344 reviews
Browse the lists this tour appears in